Parallel Compression: What It Is And How To Use It

Parallel compression is an incredible production technique. Traditional compression can add weight and power to audio material but often sacrifices a certain amount of punch and dynamism as a result. Parallel compression allows us to keep that punch, giving us the best of both worlds. How? We’ll explain.
Parallel compression is an effective method for improving your dynamics, and for good reason. Modern mixes benefit from a larger dynamic range thanks to this audio processing technique, which is more specific than traditional compression.
By the moment this article is finished, you'll be able to apply this processing technique using the DAW's built-in capabilities. Let's get started!
What is Parallel Compression?
This technique was developed in New York and is sometimes even known as ‘New York compression’. It was initially intended to be used on drums, but it can be very effective on other instruments, too – and even as part of a mastering chain. Fundamentally the technique is pretty simple; take a signal, duplicate it, and then compress the duplicate. This compressed signal is then blended with the original, uncompressed signal.
There are numerous benefits to using this technique. Drums can lack punch when heavily compressed as the transients lose power. With parallel compression, the transients on the uncompressed track are retained. This means that our drums remain punchy, while the compressed track beefs them up and increases the consistency of sound.
Parallel compression also allows us to retain some of the dynamics of the original performance – those changes in volume that can render a performance musical. The parallel track once again adds consistency, but we can add it sparingly if we wish and ensure that the life is not squeezed out of a performance.
Parallel Compression vs Sidechain Compression
Although parallel and sidechain compression are both advanced compression techniques, the processes involved in setting them up are quite different and they are used to accomplish very different things in a mix. With sidechain compression, the compressor is controlled by a separate audio signal – the sidechain – and this can be used to set up the kind of pumping sound that is often heard in EDM music. Parallel compression is about adding body to an instrument without sacrificing too much in the way of dynamics or punch.
How To Set Up Parallel Compression
There are various different ways to set up parallel compression in your DAW. The simplest is to check if your compressor has a wet/dry control. This is not the most common of controls on a compressor – many or even most compressors do not have it. However, if it is featured on your compressor of choice, you can simply dial parallel compression in using this control.
If your compressor does not have a wet/dry knob, that’s no problem, as there are a couple of other ways to set this technique up, and neither takes very long. You can either duplicate the original track and add a compressor to the duplicate or send the track to a bus channel to which you add the compressor.
Using a bus is probably the smart way to go, as any additional changes you make to the track (such as edits to the waveform or the addition of extra effects such as distortion to the channel) will be replicated on the bus track without you having to think about it. When you set up a send to your parallel bus, ensure that the send is pre-fader. This means that the send level is unaffected by changes you make on the volume fader of the track – important as the level of compression would change if the level being sent to it was altered.
When selecting your compressor settings, you can be nice and bold. You can go for a really heavily compressed sound if you want, as you are only compressing part of the signal. Once you are happy with the compressor settings, it’s good practice to bring the volume of the compressed track right down and then fade it up slowly alongside the original track until you are happy with the resultant blend.
Common Uses Of Parallel Compression
There is nothing to stop you applying parallel compression to any sound source at all. Once you get used to how it sounds and what it does in the mix, it will just become a part of your toolkit and you’ll be able to apply it wherever it is needed. That said, there are certain types of material that can particularly benefit from this technique and we’ll run through a few of them below.
Parallel Compression On Drums
As we’ve already mentioned, parallel compression was developed to be used on drums, and even today, it’s probably the part of a mix that can most benefit from the process. The reason is those attack transients – the moment of impact when the stick or beater hits the drum. Regular compression can reduce the power of these moments – and that can reduce the overall power and punch of the sound of the kit as a whole. Parallel compression is an excellent solution to this problem.
You may be asking why you should use compression at all if it reduces the power of drum transients. There are numerous reasons. Firstly, putting all the drums through the same compressor can really help to ‘glue’ the sound of the drums together. It makes the kit sound more cohesive and coherent – and that’s the case whether you recorded a live drum kit or created a kit from a selection of samples.
Secondly, it can also help to bring up the quieter parts of a sound – the sound of the room for example, of the long tails of drum hits. This can make a kit sound thicker and more powerful – more exciting too.
Parallel Compression On Vocals
Vocals can benefit immensely from parallel compression. It is possible to add a great deal of strength and body by using a compressor that is being driven really hard. If the entire vocal was going through these kind of compressor settings, the life would be squeezed out of it, but by running it in parallel with a clean track we once again preserve all of those transients and dynamic changes.
This works really well on vocals that are a little thin or lacking the power they need to cut through the mix, but it can actually work on a really wide variety of material. In acoustic or folk music where you would typically hold back a little on the compression, this can be a nice way of dialling it in very subtly.
Here you would keep the compressed track relatively low in the mix, ensuring that the vocal sound stays more ‘natural’. On heavier material, you can drive an analogue modelling compressor so hard that it distorts – saturating the sound as an aesthetic choice.
Parallel Compression In Mastering
Parallel compression has the effect of making the quieter parts of a signal louder, and this can be useful in mastering. In this case, you would duplicate the entirety of the track being mastered and run two separate master channels in parallel. When setting up the compressed track, you should ensure that your compressor provides about 20dB of gain reduction in the loudest parts of the track.
When those loud sections of the track playback, the compressed track will be reduced by 20dB, so it will contribute relatively little to the overall blend (the sound will be completely dominated by the uncompressed track). However, during quieter sections, the compressor won’t be working at all, meaning that the overall level of the master will be boosted by a significant proportion.
This all means that you will end up with a track with smoother dynamics – those quieter sections will become louder – without the louder sections of the song sounding squashed because they are being smashed so hard by compression.
Best Parallel Compression VST Plugin
You can use any compressor for parallel compression, but some are particularly suited to the task. Below, we offer some advice on which plugins to use, and explain what kind of material they are best suited to processing.
Acustica – TAN
This is a great free plugin that is particularly well suited to material that requires character, such as drums. TAN is an analog emulation so it is designed to add additional character to material that passes through it. It also includes a wet/dry control so you can set up parallel compression very easily on a single channel without doing any additional routing.
As a bonus, it features a ‘Shape Modulation’ control that allows you to fine-tune the attack shape of the compressor, giving you a nice degree of control over how your transients are sounding – another useful feature for drums.
Universal Audio 1176 Compressor Emulations
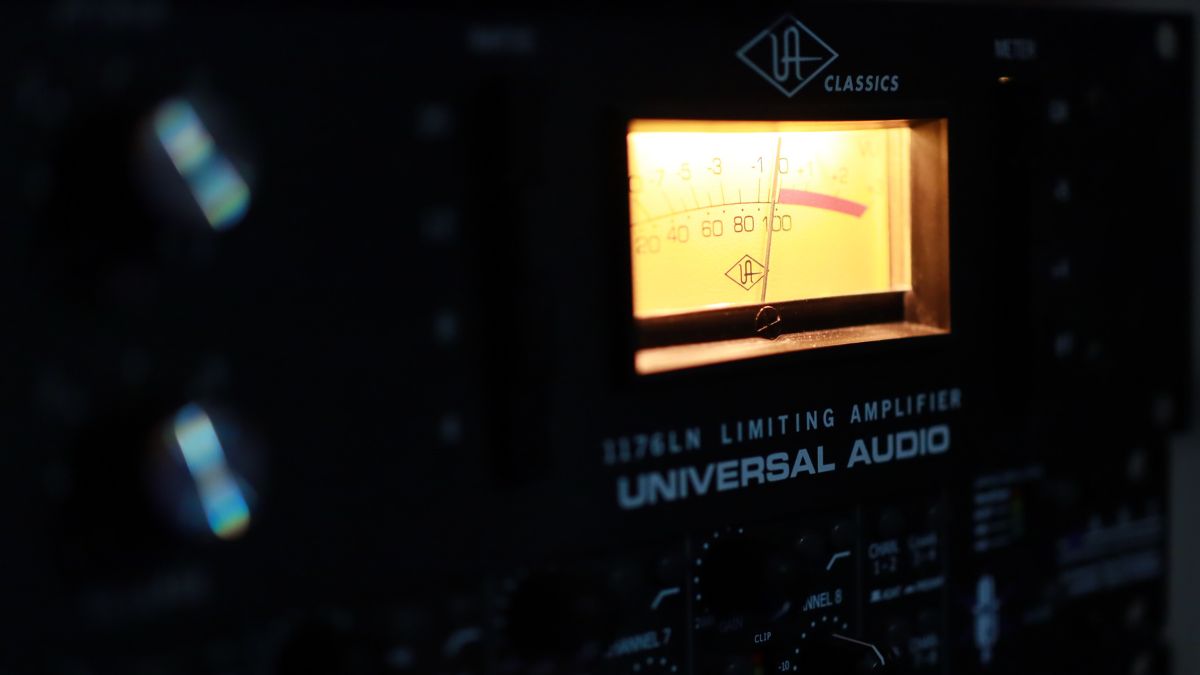
UA’s 1176 compressor is a classic for working with drums. You can really push them hard through this unit when you are using parallel compression and it adds bags of character. There are plenty of emulations out there. Universal Audio themselves make one of the very best and waves do a much cheaper but solid alternative. There are so many emulations of this box out there, that it’s possible you already own one that you can try out.
Teletronix LA-2A Emulations
The LA-2A sounds fantastic on vocals and has been used on a wide range of vocalists from Kurt Cobain and Jack White to Alanis Morrisette and Shakira. Once again, this is a classic compressor and there are a huge number of great emulations out there. UAD, as is so often the case, do a great version. Another nice option comes from Brainworx.
As you can see, parallel compression is an extremely useful and surprisingly versatile technique. While it might be nice to eventually experiment with using some of the plugins we’ve mentioned above, there is nothing to stop you from trying this out right now. The technique works extremely well even with the most basic compressor that came bundled with your DAW. Give it a shot!


Comments:
Nov 10, 2022
Login to comment on this post